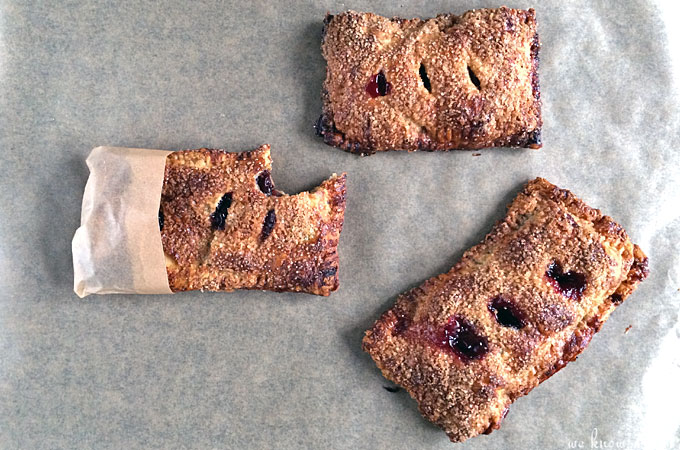
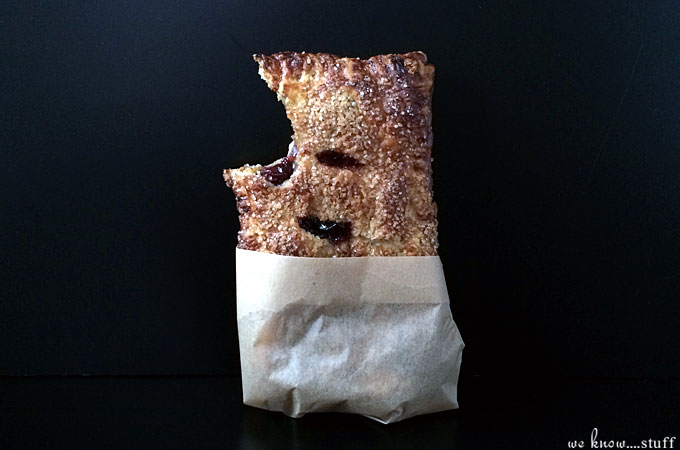
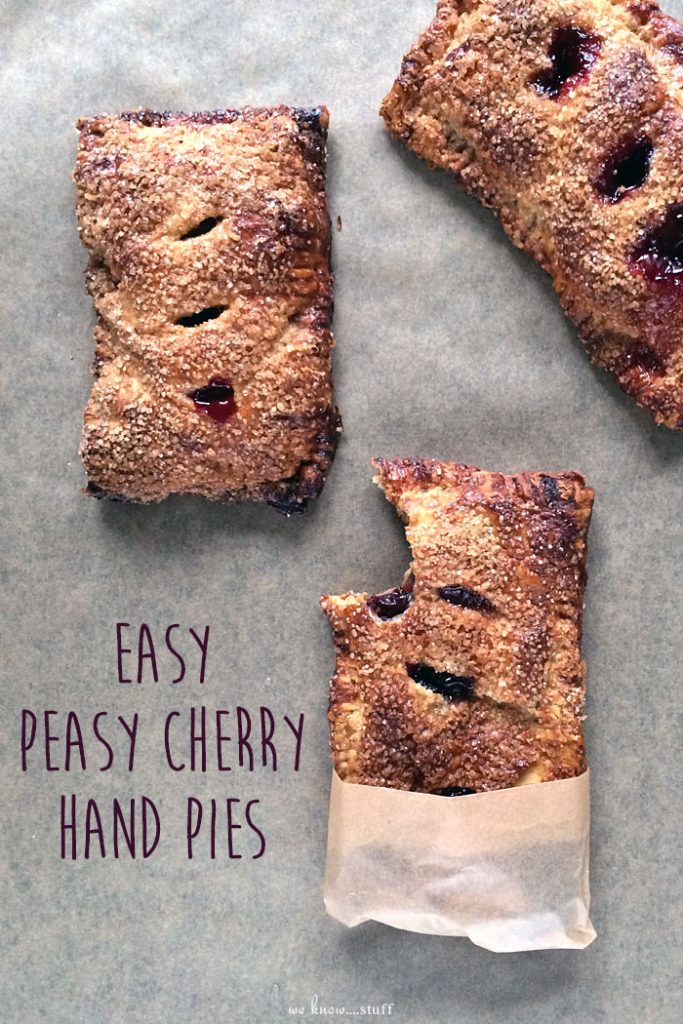
Did you know February is National Cherry Month? So let’s make our tasty Cherry Hand Pies Recipe with our homemade, dye-free, cherry pie filling! Yum!
Have you ever had a hankering for something and just couldn’t put your finger on it? Yes? No? Well, this happens to me all of the time and it makes me bonkers. It makes my husband bonkers too because I follow him around the house talking about food for days until I figure it out.
I go through all of the taste sensations — sweetness, sourness, saltiness, bitterness, and umami (savory) — one by one until I figure it out. I can be really (really) annoying when this happens. Mostly because I’ll behave like a college frat boy on an empty stomach gnawing my way through the house.

Salty? Let me try some potato chips…
Sweet? Let me eat the kids cookies…
Sour? Let me chug some cranberry kombucha…
Bitter? Let me eat all of the dark chocolate hiding in the fridge…
Umami? Let me order some sushi and drown it in soy sauce!

Like I said…I can get pretty annoying when it happens. But then one day, I’ll stumble upon my hankering and it will be satiated…until it happens again!
Such is what happened this week. I figured out that my hankering was for something sweet, but initially thought it was for chocolate chip cookies. So I made a batch and ate several of them last night, but it was a no go. I was a bit perplexed because I was sure that it was cookies, but then as I was wandering through the grocery store this morning, I figured it out.

Cherries. I needed me some cherries. Stat! So I picked up a container of dried ones and started eating them right there in the aisle (my mother would have been so embarrassed) and then I picked up a bag of frozen ones too. Initially, I thought I was going to make a banana cherry smoothie for lunch, but then I spied some frozen puff pastry in the depths of my freezer and decided to bake my cherries instead.
My easy peasy cherry hand pies recipe is incredibly satisfying. I like to make my cherry pie filling from scratch so it doesn’t have any artificial dyes or unnecessary sugar in it, but I use frozen puff pastry because I really hate making pie dough from scratch. The cherry pie filling can be made up to one day ahead, so this is a nice recipe to bring to brunch or tea at Grandma’s house!

EASY PEASY CHERRY HAND PIES RECIPE
Cherry Pie Filling Ingredients:
- 1 bag (12 ounces) frozen, unthawed, pitted cherries
- 2/3 cup dried cherries
- 1/2 cup turbinado sugar
- 1 teaspoon vanilla extract
- 1/8 teaspoon kosher salt
- 3 Tablespoons cornstarch
- 1 1/2 Tablespoons warm water
- 1/2 teaspoon fresh orange zest (3 small Halos did the trick)
- 3 tablespoons freshly squeezed orange juice (from the Halos)
Hand Pie Crust Ingredients:
- 1 box (2 sheets) frozen puff pastry, thawed in the refrigerator
- 1 large egg white
- 1 tablespoon water
- Turbinado sugar (for sprinkling on top)
Directions:
Step 1: Line a large baking sheet with parchment paper. Set aside.
Step 2: Combine frozen cherries, dried cherries, turbinado sugar, vanilla, and salt in a large saucepan. Cook over medium-low heat, stirring occasionally, for about 5 minutes, until the cherry juices are released.
Step 3: In a small bowl, stir together cornstarch, orange juice, zest and warm water. Add mixture to cherry mixture. Stirring often (the cornstarch will gel the cherry mixture), bring to a boil. (Do not walk away from you stove or it will burn!!) Once it has thickened, about 5 minutes, remove from heat. Let cherry filling cool to room temperature, stirring occasionally.
Step 4: Your puff pastry should come in 2 sheets, each with 3 sections. To keep this recipe easy peasy, separate all of the sections so you end up with 6 long strips of pastry. Using a sharp knife or pizza cutter, cut each strip in half. You will know how 12 pieces of pastry.
Step 5: In another small bowl, whisk the egg with 1 tablespoon water to create an egg wash. (Egg wash helps seal the seams of a pastry together.) Working with 1 pastry rectangle at a time, place on a lightly floured work surface (I use parchment paper to keep my dough from sticking to everything) and brush edges with egg wash. Scoop 2 tablespoons of your cherry pie filling onto one rectangle. Take another pastry rectangle, brush the edges with egg wash, and place egg wash side down on top of the rectangle that has cherry pie filling on it. Gently press the seams together and crimp with a small fork to seal. Using kitchen shears, cut 3 small slits into the top of each cherry hand pie. Place on a prepared parchment lined baking sheet. Repeat this step with the remaining pastry rectangles until you have 6 cherry hand pies.
Step 6: Brush tops with egg wash, then sprinkle with raw sugar. Chill for 30 minutes.
Step 7: Preheat oven to 375°. Bake pastries until tops and bottoms are golden brown, 30 minutes. (If using two smaller baking sheets, rotate sheets at 15 minutes.) Let cool for 10 minutes on baking sheet. Transfer to wire racks; let cool completely.
Notes: Pie filling can be made one day ahead of time to speed up the process.
Looking for more sweet treats? Try these:


Leave a Reply