Recently I was thinking about what Ryan could give my mom for her upcoming birthday. As you all know, it’s been quite a winter, and she and I had recently talked about how we are all ready for spring’s arrival. She’s an avid gardener – there’s many a flower in her gardens that are named after my sister or I, or are directly correlated to major life events.
It dawned on me that a hand painted terra cotta flower pot would be a perfect little “Happy Birthday and let’s pretend it’s spring even though there’s still snow on the ground” gift from her first grandson (who, incidentally, was born 2 days before her 60th birthday. Top that for birthday gifts, haha).
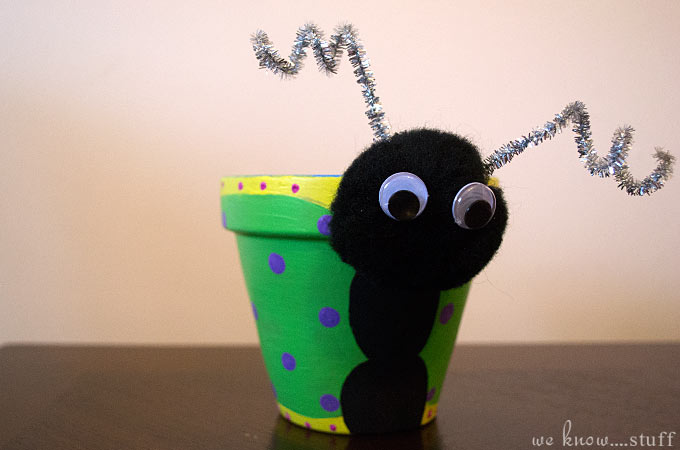
While Ryan painted to his heart’s sloppy content, I set to work on something a touch more…structured. After a search on Pinterest, I found these adorable garden insect inspired painted terra cotta pots, and decided this would be a perfect way to bring spring to our home. Again, the possibilities are endless: caterpillars, ladybugs, bumblebees, even birds, so feel free to let your imagination run wild. In the end, I thought I’d try my hand at a butterfly.
KIDS CRAFT: PAINTED TERRA COTTA FLOWER POTS
Materials (Butterfly Design):
- Terra cotta pot (saucer optional)
- Craft paint in multiple colors (regular or outdoor – I even saw glitter paint, which I would definitely use next time)
- Pencil
- Paintbrushes – regular and angled
- Extra large black Pom-Pom, to size of your pot
- Pipe cleaner OR metal wire with beads
- Googly eyes
- Hot glue gun
Directions:
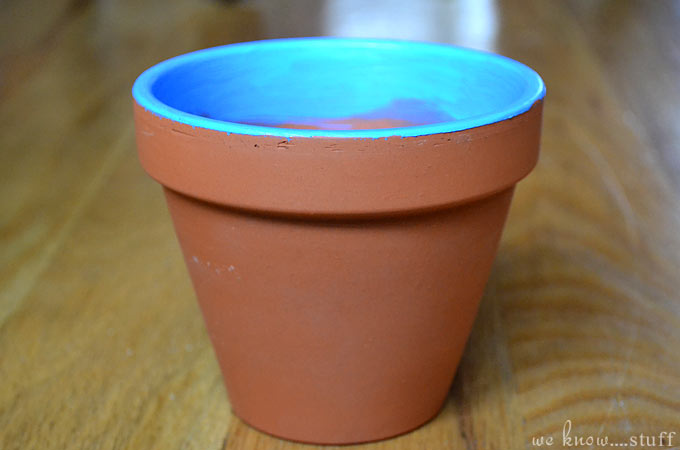
Step One: (This is optional, but it will give your pot a finished look.) Paint the inside of your pot any color you desire. You can keep in line with your design, or do a solid color. To maintain a clean line around the top of you pot, tape off with painters tape. Let dry. Apply a second coat if necessary. (I often find that at least a second coat is a must with terra cotta pots.)
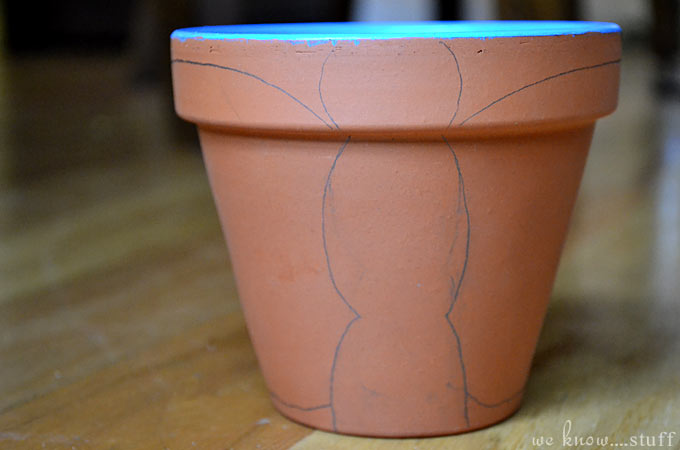
Step Two: Trace the outline of your design onto the pot. (Unless you’re a rock star at free handing things. Then go to town with the paint!)
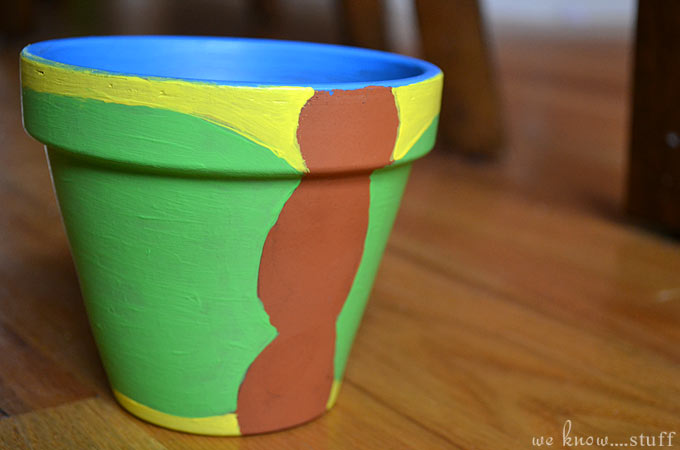
Step Three: Begin to paint. I started with the background color of the wings, since that would be the primary background of the entire project, and then a second color would be painted on top of it. Let dry, and apply a second coat of paint if necessary. Mine actually took four thin coats of paint before appearing even.
Step Four: Next, paint the wings. I left an area around the primary color of the wings for a border, and then painted the border. (I used a thin brush for the border, but a small angled brush would work even better.) Let dry and apply a second coat if necessary.
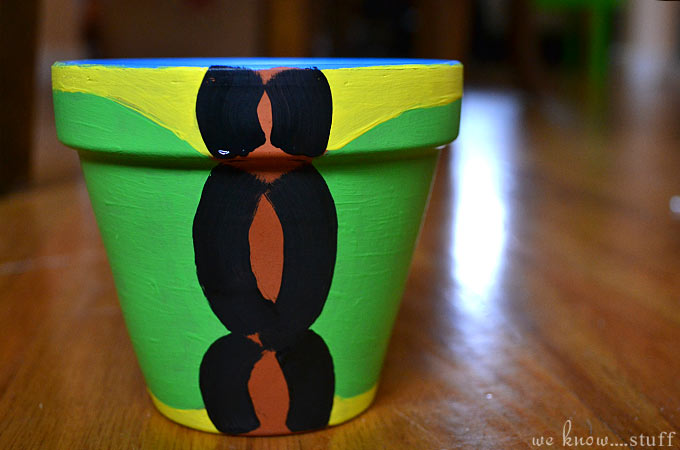
Step Five: Last, paint the body of your butterfly. I stuck with basic black, but color or glitter would be very whimsical and fun. I used an angled brush to create a clean line, and then filled in the body.
Step Six: Use hot glue to apply the head to the top of the body. Curl pipe cleaners for the antennae and then attach using hot glue. Affix googly eyes.
Step 7: Decorate your insect however you like; I used Q-Tips to make circles and a small brush to dot my butterfly’s wing border. Then add whatever you like to your sweet little painted flower pot: candy, a small plant, some seeds.
This is a really fun nature-inspired Kids Craft and make wonderful gifts for Mother’s Day. Have fun and let us know what you come up with!
Happy Crafting,
Brianne Patterson
[…] Painted Terra Cotta Flower Pots ~We Know Stuff […]