A few days ago, I shared a fun Kids Craft about making Ice Chalk. August tends to be a really hot month in our neck of the woods, and we really needed something fun – and chilly – to do. Since the Ice Chalk was such a big hit, I decided to take a stab at making Ice Paint.
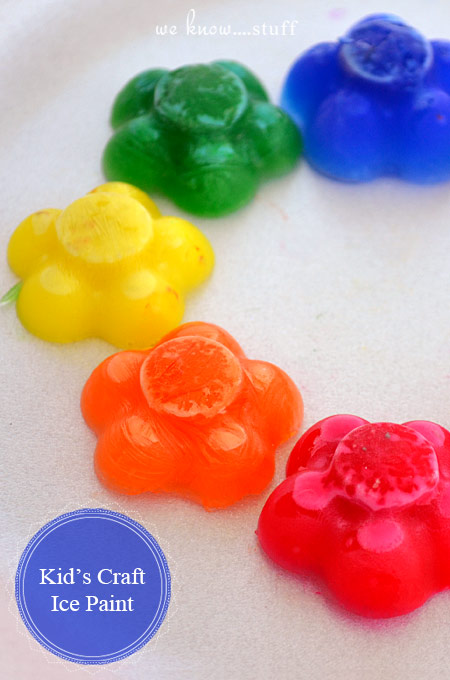
Ice Paint takes finger painting to a different – and much cooler – level. For this Kids Craft, I tried all three: washable, tempera or acrylic. The benefits of tempera or acrylic paint is that the color is really brilliant whereas washable is more like a water color painting at the end of the project. But, the benefits of washable paint is…well, it’s washable. And for this mom, sometimes that trumps EVERYTHING!
I find that my little guy needs a lot of time when working on creative crafts, so I try to stand back and let him experiment with whatever materials I set before him. In this instance, I didn’t tell him to “draw something”, instead I just let him slather the paint on his canvas and have a ton of sensory fun!
Note: I choose canvas for this Kids Craft for the same reason I did with the salt paintings. As the ice melts, this project gets pretty messy – and wet! – and this way the Ice Paint won’t tear through the canvas as it would on paper.

To add in some science fun, don’t remove the frozen paint from the molds or ice cube trays right away. Instead, sprinkle the paint with salt and have your child use a paint brush to create a masterpiece. This is a great way to observe and explain how salt warms and melts ice, which is something we East Coasters are very used to seeing during those long wintry months!
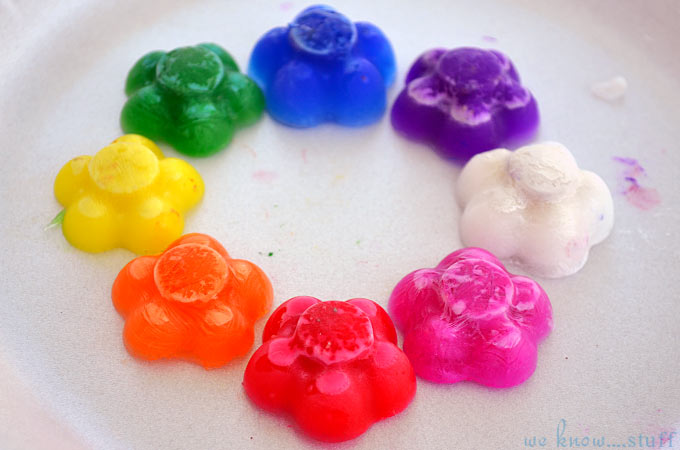
As the ice melts, your child can create some really cool swirling designs with all of the colors! I also played the “What Color Will This Combination Make?” game? The Tornado had a lot of fun guessing — and painting! So there you have it – two ways to be cool AND creative in these dog days of summer. But more importantly, we want to know how does your family keep their cool at this time of year?

KID’S CRAFT: ICE PAINT
Materials:
- Paint: washable, tempera or acrylic
- Water
- Ice cube trays/silicone molds
- Canvas
Directions:
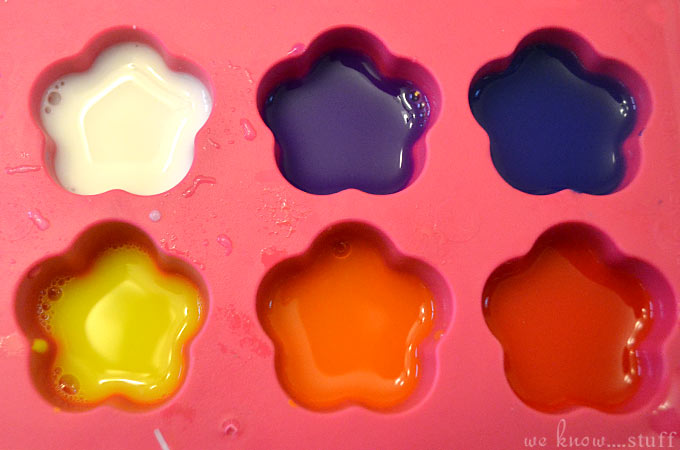
Step 1: Dip your Q-Tip into the paint, getting a good dollop on the end. Place each Q-Tip in a compartment of the ice cube trays or silicone mold.
Step 2: Add water to each compartment. Using the Q-tip, stir until the color is consistent.
Step 3: Freeze for several hours or overnight.
Step 4: Once frozen, let them thaw just enough that you can easily pop them out of the mold or ice cube tray. Let your kids go to town on the canvas.
Thanks for Reading!
Brianne
Leave a Reply