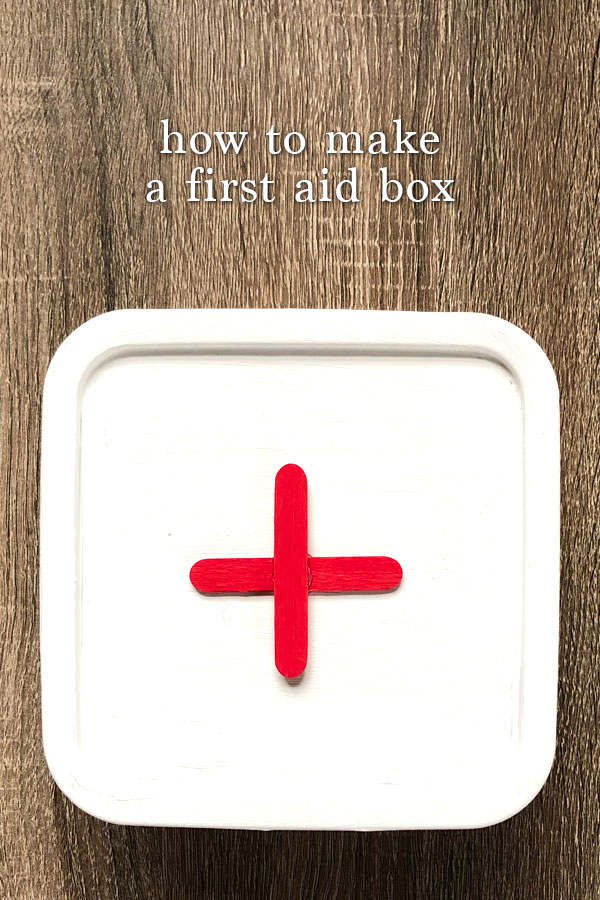
This shop has been compensated by Collective Bias, Inc. and its advertiser. All opinions are mine alone. #PeptoInAPill #CollectiveBias This easy tutorial will show you how to make a first aid box for your car. This DIY first aid box is made by recycling a simple plastic box.

Whenever I am faced with a particularly hectic week, I find that being well prepared is half the battle. Splitting my days between work, mom-duties, homework, after-school activities and dinner makes the weekdays pretty exhausting. I find that if I just set a little time aside each night to prepare for the next day things goes much smoother around my home. Filling the coffee machine, prepping lunches and picking out the next days outfits usually result in mornings that go off with out a hitch.

What about the unexpected stuff you don’t think to plan for?
I don’t know about you, but nothing grabs my attention faster than stomach pain and a distinct rumbling in my gut. The last thing I want to deal with in the middle of my day is tummy trouble. Which is why I always keep a fully stocked first aid kit in my car. Whether I am sitting in a meeting, traveling with my family or enjoying a sporting event – I know that I have what I need right in my car.

The first aid box that I keep in my car is pretty straightforward and contains the items I always seem to need when I’m away from home. My kit is packed with adhesive bandages, antibacterial spray, cleansing wipes, ibuprofen and NEW Pepto Diarrhea Liquicaps. Having the ability to quickly address impending diarrhea is pretty important to me. The new Pepto liquicaps are very convenient for stowing away in my first aid kit or my pocketbook. Pepto quickly coats my stomach, kills bacteria to relieve diarrhea and saves me from an embarrassing situation!
Hover over the photo to click through and buy New Pepto Liquicaps!
If you think a first aid kit for your car is a good idea, this quick tutorial will show you how to make a first aid box of your very own!
How To Make A First Aid Box For Your Car
Materials:
- plastic box
- white chalk paint
- 2 foam brushes
- 2 mini popsicle sticks
- red acrylic paint
- glue gun
Directions:
Step 1: Wash out your plastic box with mild soap and warm water. Allow the box to dry thoroughly. (Mine was a plastic bakery box filled with mini brownies!)
Step 2: Use a foam brush to paint the lid and box white. Allow to completely dry and add a second coat of white chalk paint.
Step 3: Use a different foam brush to paint both of the popsicle sticks red.
Step 4: Using a glue gun to glue the popsicle sticks together in the shape of a cross. Glue the red cross to the lid of the box.
Step 5: Fill with your first aid items and remember to pack it in your car!

This statement has not been evaluated by the Food and Drug Administration. This product is not intended to diagnose, treat, cure, or prevent any disease.

Did you enjoy this How to Make a First Aid Box tutorial? If you did, check out these crafts!
- how to make practical and easy diy wind chimes
- decorating citronella candles
- incredibly easy no sew apron tutorial

Leave a Reply